
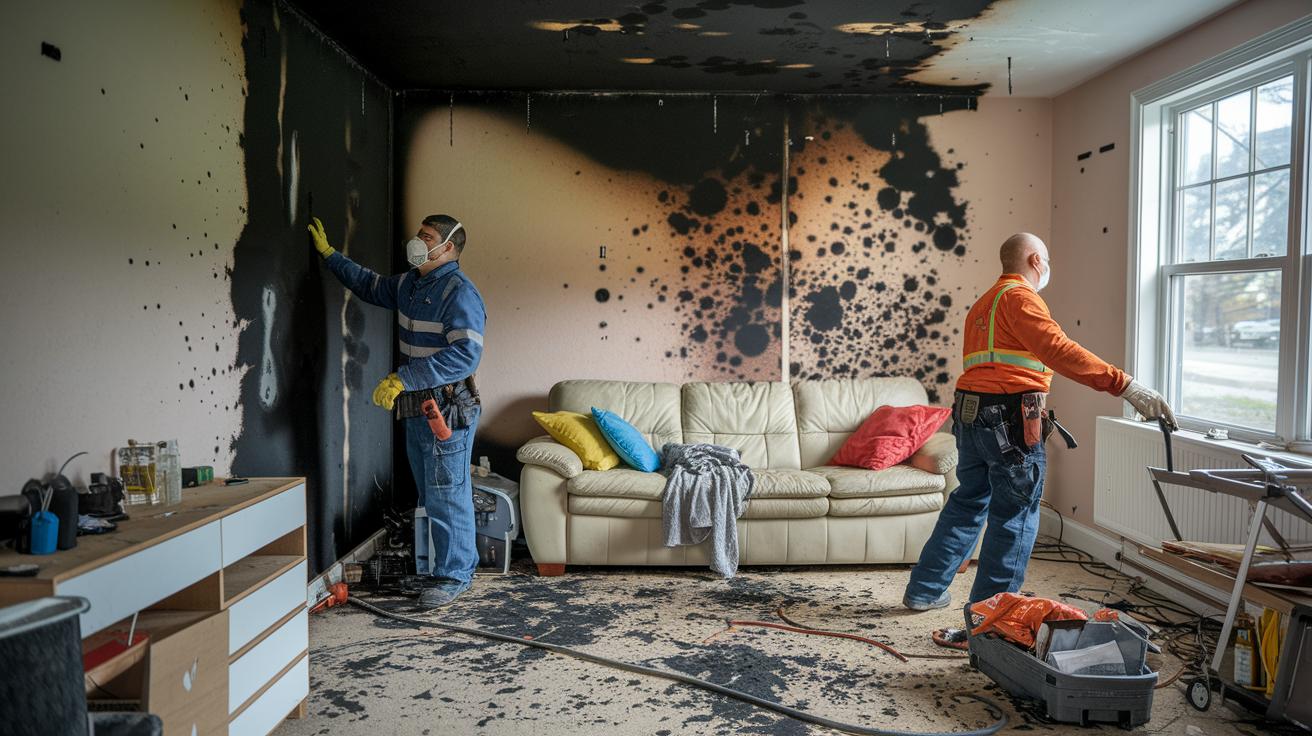
Have you ever noticed that even a small burst of smoke can leave big marks on your walls? Soot can quickly wear down your paint and finishes, meaning a careful cleanup is needed.
This guide will walk you through how to check your walls, clean off the soot, and bring them back to life.
- First, inspect your walls closely. Look for dark soot deposits or stains.
- Next, use the proper cleaning methods to remove the stubborn residue. This stops further damage to your paint and finishes.
- Finally, take steps to restore your walls, ensuring they look refreshed and well cared for.
By following these steps, you can restore your home and keep your walls safe from more damage.
Smoke Damage on Walls Cleanup: Revitalize with Ease

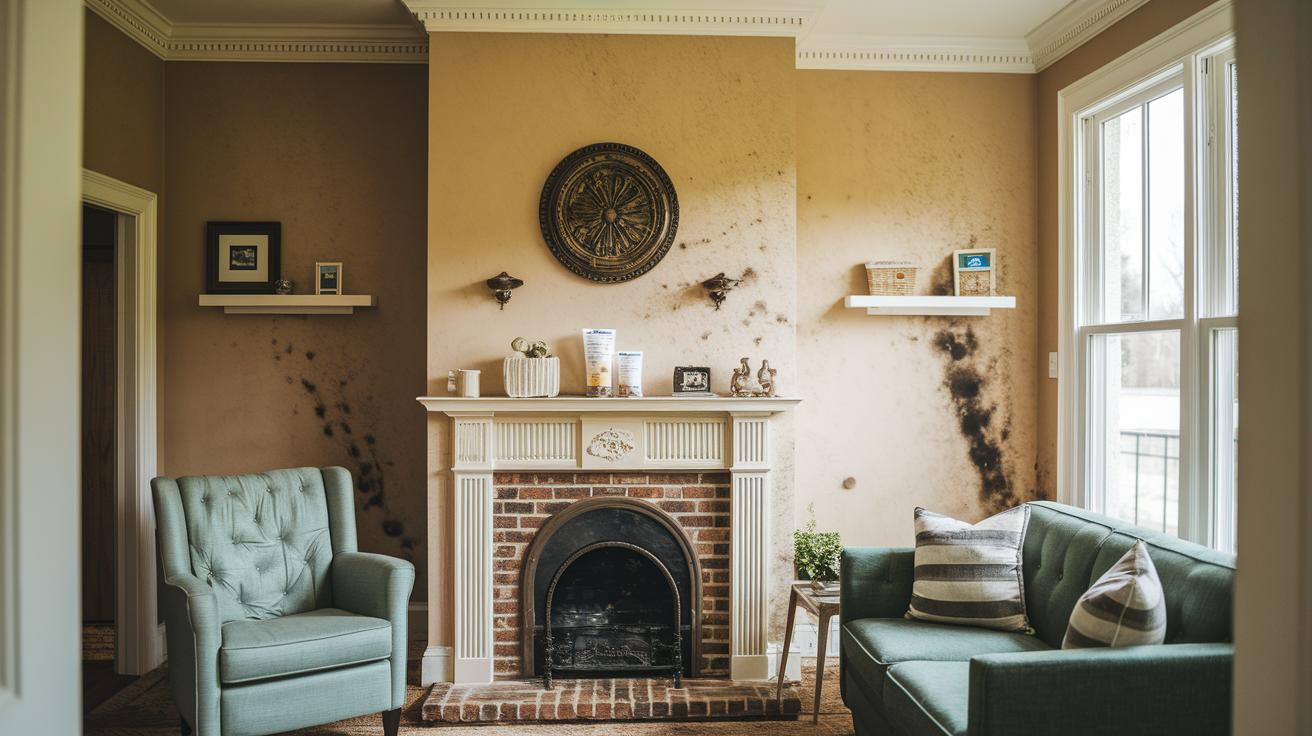
Start by inspecting your walls closely. Check for soot build-up, faded areas, and damage like peeling paint or blistering surfaces. This first look helps you understand the extent of the soot and plan your cleanup.
Next, prepare the space by cleaning the ceiling first. Removing loose soot from above stops it from falling back onto your walls later. Also, test your cleaning solution on a hidden spot to make sure it does not harm the paint or worsen any stains.
Follow these steps to remove the soot:
- Check the walls for visible soot and any surface damage.
- Clean the ceiling so that loose soot does not settle back.
- Test your cleaning product on a small, inconspicuous area.
- Gently lift fresh soot using a dry chemical sponge without smearing.
- For stubborn spots, use a vacuum with a HEPA filter (a high efficiency air filter) and a soft-bristle attachment.
After removing the soot, treat any remaining residue. Wipe the walls with a mild cleaner such as diluted trisodium phosphate (a cleaning solution) or a special soot cleaner. Rinse the walls with clean water using a microfiber cloth to remove any leftover cleaning agent. Keeping good airflow during this process stops particles from settling elsewhere.
Finally, examine the walls for any missed areas and clean them again if needed. This careful process helps remove harmful soot and prevents it from spreading through your home's ventilation system.
Safety and Preparation for Smoke Damage on Walls Cleanup
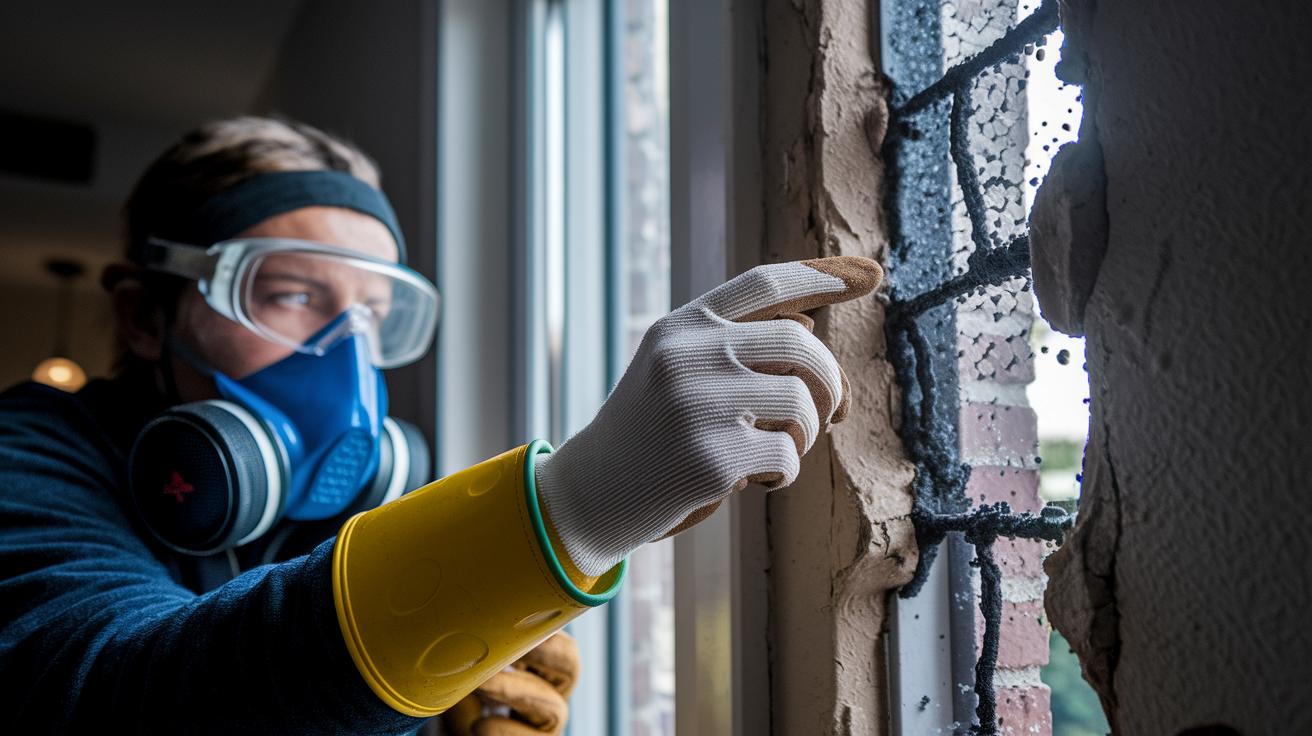
Before you start cleaning walls after smoke damage, check them carefully. Look for cracks, bubbles, or other signs that there could be deeper damage. This helps you know if you need extra repairs before cleaning.
Your safety comes first. Always wear the right protective gear:
- Nitrile gloves
- An N95 or higher mask (this helps block harmful particles)
- Eye protection
- Long sleeves and long pants
For more details about protective gear for restoration work, visit https://mindtangle.net?p=163.
Make sure the work area is safe by turning off the power to any wall outlets nearby. This reduces the chance of electrical problems while you clean.
Open windows and run a fan to improve air flow. This not only helps dry the area faster but also clears out airborne contaminants. Before using any cleaning solution, test it on a small, hidden spot to see if it affects the wall’s finish.
Following these steps is important after fire damage. They help lower health risks and prevent further damage as you prepare to remove the soot.
Effective Soot Extraction Methods for Wall Residue Removal

Start with a simple two-step cleaning process. First, remove as much loose soot as possible. Use a dry-chemical sponge to gently lift fresh soot, much like using a soft sponge to pick up a thin layer of ash without smearing it on the wall. If the soot is stubborn, use a vacuum with a HEPA filter (a filter that traps very small particles) and a soft-bristle attachment. This method helps lift fine particles while protecting the wall's texture.
Next, switch to a wet cleaning step. Mix a trisodium phosphate (TSP, a cleaning chemical) solution according to the manufacturer's instructions or use a special soot cleaner. Wipe the wall carefully with a microfiber cloth to remove any remaining residue, then rinse the area with clean water to clear away the cleaning solution and dislodged soot.
Finish by improving airflow in the room. Open windows or run fans to push away any lingering airborne particles and speed up drying, ensuring that your wall is thoroughly cleaned.
Choosing the Right Cleaning Chemical Solutions and Industrial Equipment for Smoke Damage on Walls
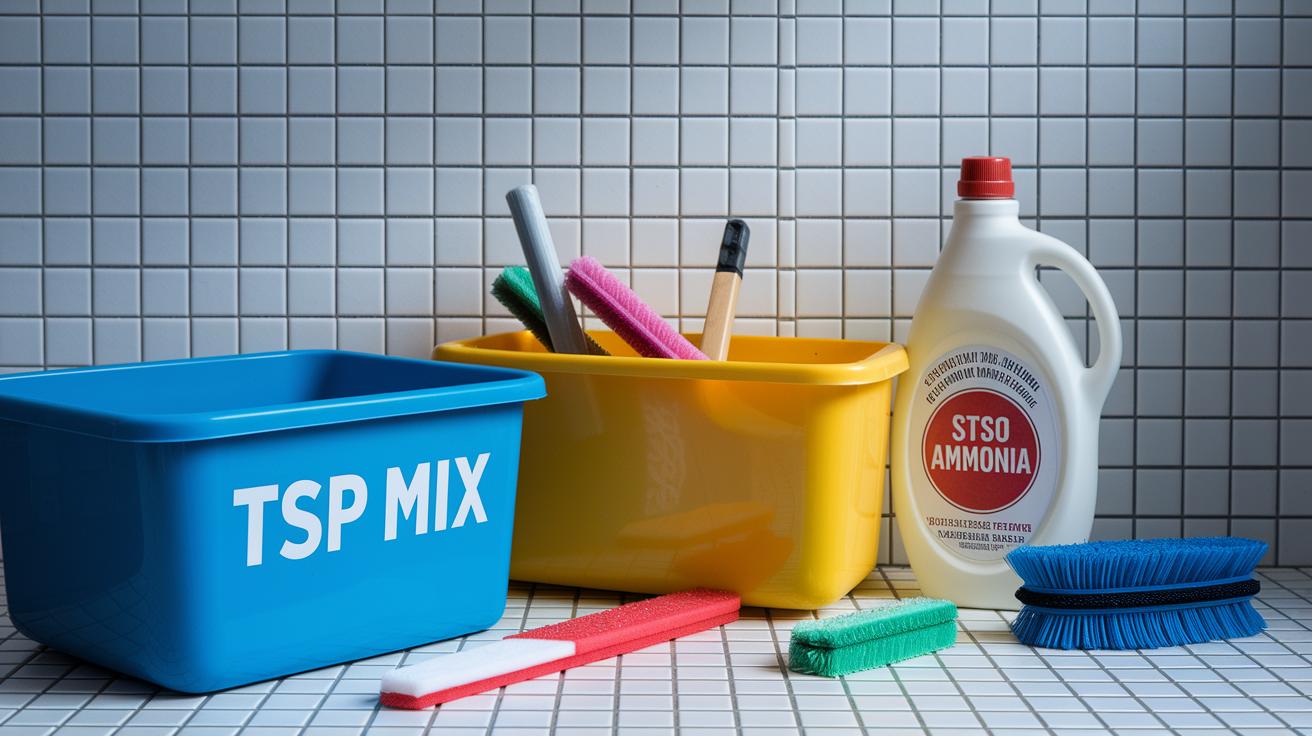
If smoke has damaged your walls, using the proper cleaning chemicals can make a big difference. For heavy soot, a trisodium phosphate mix (TSP mix, which means 1 tablespoon per gallon of water) works best. For lighter buildup, ammonia detergents are effective. Enzyme cleaners are great for breaking down odors and leftover contaminants. Always read the instructions provided by the manufacturer when working on painted or wallpapered surfaces. Test a small area first to make sure the color stays the same and the finish stays intact.
Industrial equipment also helps make cleanup easier and faster. Motorized scrubbers quickly remove stubborn soot without hurting sensitive surfaces. Low-moisture foggers spray the cleaning solution evenly, which cuts down on excess water that might cause further damage. HEPA air movers help clear out airborne particles while you clean. Using the right tools with the right chemicals means you can thoroughly clean smoke-damaged walls and remove harmful pollutants.
When handling strong cleaning chemicals, always wear proper protective gear. This includes nitrile gloves, an N95 mask, and eye protection. Using full PPE protects you and helps ensure that the cleaning process is done safely and correctly.
| Solution | Use Case | PH Level | Recommended Equipment |
|---|---|---|---|
| TSP Mix | Heavy soot | 11 | Scrub brush, bucket |
| Ammonia Detergent | Light residue | 9 | Microfiber cloth |
| Enzyme Cleaner | Odor and residue | 8 | Fogger |
| Commercial Smoke Remover | All-purpose | 7–10 | Motor scrubber |
| Dry-Chemical Sponge | Fresh soot | Neutral | Hand sponge |
By matching the right chemical products with the proper equipment, you can restore your smoke-damaged walls and protect your home over the long run.
Odor Neutralization Strategies After Smoke Damage on Walls
After cleaning off the soot and smoke, you may still notice a sour, smoky odor coming from your walls. Even when the visible soot is gone, smoke particles can hide deep within the wall pores. To tackle this, start by washing the walls with an odor-neutralizing detergent that has an oxidizer such as hydrogen peroxide (a chemical that breaks down smoke particles). This helps lift the trapped smoke molecules from the wall.
Next, try both simple and advanced methods to freshen your indoor air. For example, activated charcoal sachets can absorb odors naturally. Place a few sachets in the corners of rooms where the smell lingers and let them work for a few days. In an unoccupied room, you can also use devices like ozone generators or hydroxyl machines. These tools work by changing odor-causing compounds into neutral substances.
Finally, pay attention to your ventilation system. Clean or replace your HVAC filters to prevent old odors from circulating again. Alternatively, run a portable HEPA air purifier with a carbon filter for 48 to 72 hours. This step captures airborne chemicals and stops the smoky scents from returning. Each of these approaches works together to help your walls and air feel fresh and clean again.
DIY vs Professional Decisions for Smoke Damage on Walls Cleanup and Cost Considerations
If you have walls damaged by smoke, you can choose to clean them up yourself or call in experts. Fixing the issue on your own might cost about $0.50 to $1.50 per square foot. While it can save money, a DIY job might not remove all the soot and odors. This can lead to problems down the road, like traps of particles that hurt your air quality.
Hiring a professional usually runs between $2 to $6 per square foot. This price covers skilled labor, the use of heavy-duty equipment, and safe disposal of waste. Experts can also help with insurance paperwork, making the whole restoration process easier. In many cases, your insurance might pay for part of these services.
Here are some things to keep in mind when deciding your next steps:
- DIY methods might save money at first but can lead to long-term issues like ongoing smells and incomplete cleaning.
- A professional team brings specialized equipment like industrial scrubbers and HEPA vacuums (high efficiency air filters) to get better results.
- It is important to handle cleaning solutions and odor removal safely to ensure lasting improvements.
Before making your choice, check for proper certifications, get several quotes, and look at reviews. A thorough checklist should cover inspection, cleaning, odor removal, and follow-up checks so you can compare services clearly.
One customer mentioned, "We tried to clean up ourselves, but after wiping so many times and still dealing with the smells, we realized we needed professional help."
If you decide to hire experts, consider contacting trusted home restoration services at home restoration services. They will manage everything from the initial check to the final boost in air quality, ensuring your walls look clean and are free from lasting smoke damage.
Post-Cleanup Repairs and Wall Restoration After Smoke Damage

After cleaning off soot and odor, look over your walls closely for any leftover discoloration or damage to the paint. Check every inch for small cracks or surface damage and mark the spots that need fixing. If you see a tiny crack, fill it with spackle and sand it smooth so the surface is even, much like fixing a scratch on your favorite piece of furniture.
Then, cover the fixed areas with a stain-blocking primer or clear sealant before you repaint. This step traps any remaining smoke particles and stops them from showing through the new paint. For walls with texture or wallpaper, repair the spots using matching materials so everything looks consistent.
Follow these steps:
- Check all wall surfaces for discoloration and cracks.
- Fill small cracks with spackle and sand them until smooth.
- Apply a stain-blocking primer or clear sealant over the repaired areas.
- For textured or wallpapered walls, patch with matching materials.
- Plan a follow-up inspection in 1 to 2 weeks to ensure no soot or odor returns.
Also, remember to change your HVAC filters regularly and wipe down the walls routinely to keep smoke residue from building up. These simple steps help improve air quality and keep your restoration work intact, so your space feels fresh.
Final Words
In the action, we walked through initial inspections, safety measures, and effective steps for soot extraction and residue treatment. We covered selecting proper cleaning solutions and equipment, odor neutralization, and the pros and cons of DIY versus professional help. Lastly, we explained important post-cleanup repairs to finish the restoration process. Following these clear steps can protect your home and health. With careful planning and the right resources, achieving a successful smoke damage on walls cleanup is completely possible. Stay safe and know you have the tools to restore your space.

