
Have you noticed water stains suddenly appearing on your ceiling after a repair? When water gets into your home, every minute matters. In just one to two days, water can weaken the ceiling and cause lasting damage. Acting quickly can lower repair costs and help keep mold away. Whether you decide to fix it yourself or call in a professional, stopping the leak and drying the area are your first steps. This post lays out a clear, step-by-step guide to restore your ceiling and ensure a lasting repair.
Professional and DIY Approaches to Ceiling Water Damage Repair from Leaks
When water starts leaking from your ceiling, time is critical. In just 24 to 48 hours, water can soak into drywall, insulation, and support beams. Acting fast helps lower repair costs and stops mold from forming. Whether you take a DIY approach or call in a professional, quick action to stop the leak, remove water, and dry out affected areas is key to keeping your home safe.
- Check the water source and shut off your main water valve.
- Use simple methods to locate exactly where the leak is coming from.
- Stop the flow by turning off related faucets or securing any damaged pipes.
- Remove any standing water with a water extraction system.
- Use dehumidifiers and air movers (fans that help remove moisture) to dry the area.
- Look for signs like stains, bubbling paint, soft spots, or a sagging ceiling and document these issues for future repairs.
Choosing the right tools and methods makes a big difference. If you decide to handle repairs on your own, ensure that your equipment can handle the job. A moisture meter (which checks for dampness) can help you confirm that the ceiling is dry before you finish. Air movers and dehumidifiers speed up the drying process and stop more moisture from entering. Some repair solutions combine several tools to achieve faster recovery.
If you prefer a DIY repair, renting or buying proper water extraction equipment can save time while keeping moisture under control. But if the damage is extensive, bringing in a professional team who understands leak troubleshooting might be the safest option. A careful and step-by-step approach will help secure a long-lasting repair and reduce the chance of further water damage.
Identifying and Assessing Ceiling Water Damage Severity after Leak Repair
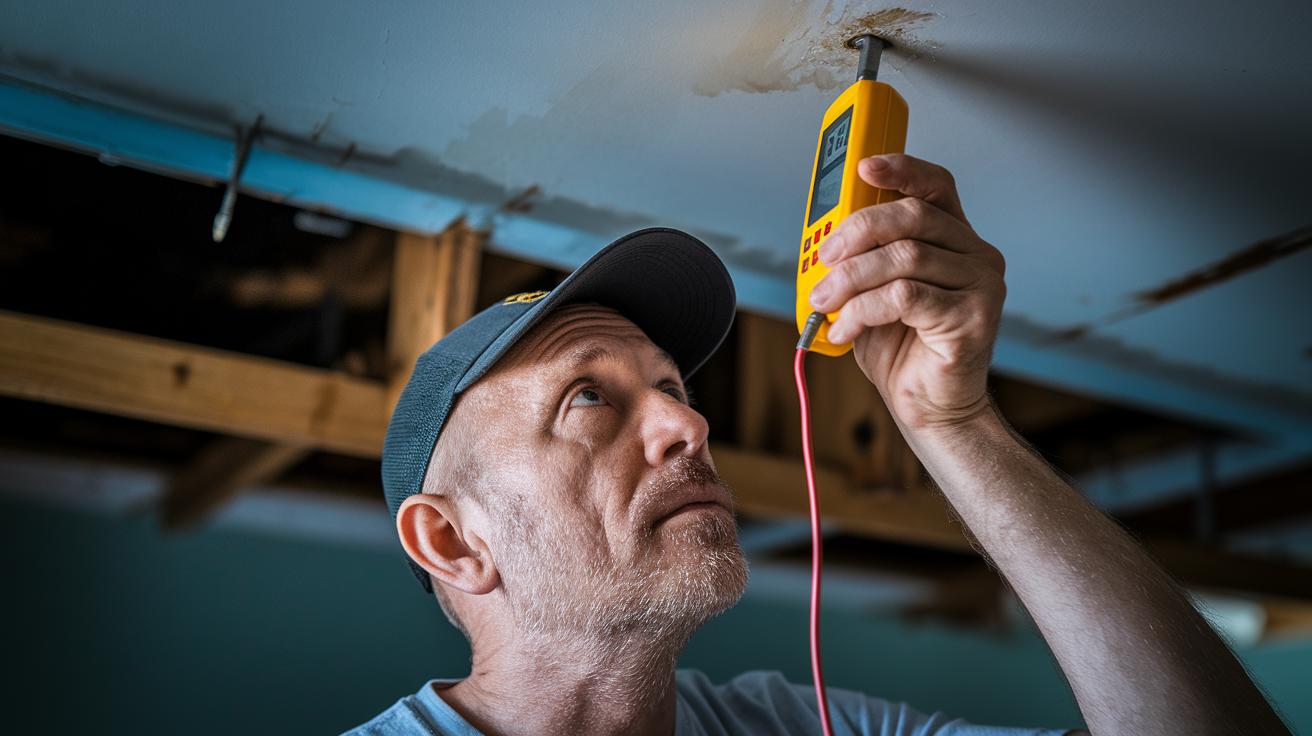
After fixing a leak, it is important to check if moisture is still hidden in your ceiling. First, use a moisture meter on the area around the repair. Press the probe firmly against the ceiling panel near the suspected damage. For example, place the meter on a part that looks dry. If the reading is higher than normal, it may show hidden moisture. High readings in spots that seem fine on the surface can mean that wet insulation or structural materials need more attention.
Next, do a careful physical check. Run your hand slowly over the ceiling to feel for areas that are softer or uneven. If any part feels damp or spongy, it points to a deeper issue beyond just a surface problem. In such cases, call a professional to perform a full evaluation of the ceiling.
Step-by-Step Guide to Repairing Water-Damaged Ceilings
Water damage can get worse fast if not handled soon. Acting quickly to dry and fix your ceiling helps prevent other problems. Here is a clear process to restore your ceiling and keep further damage at bay.
- Find the leak and shut it off. Locate where the water is coming in and stop it to prevent more water from entering.
- Remove any standing water and use air movers. Get rid of any water you see and set up air movers (powerful fans) to help dry the area faster.
- Cut out the wet drywall. Remove any panels that have soft spots, bubbling paint, or discoloration so you can work with solid material.
- Clean the area and add a moisture barrier. After taking out the damaged parts, clean the spot well and apply a moisture barrier (protective sealant). Use a moisture meter (a tool that measures dampness) to be sure the area is dry.
- Install new drywall and joint compound. Replace the removed panels with new drywall. Secure them properly and fill the seams with joint compound (filler that smooths joints).
- Sand and prime the surface. Sand the edges to even them out, then apply a primer to get the surface ready for the final finish.
- Paint the ceiling to match the rest. Finish the repair by painting so the new section looks like the surrounding ceiling.
Using quick drying methods makes sure no hidden moisture is left behind, lowering the chance of mold or further damage.
| Material/Tool | Purpose |
|---|---|
| Moisture meter | Checks dryness and confirms no dampness remains |
| Air mover | Speeds up drying with strong airflow |
| Dehumidifier | Removes lingering moisture from the area |
| Joint compound | Fills gaps and bonds drywall seams |
| Drywall panel | Replaces water-damaged sections of the ceiling |
| Primer/paint | Seals the surface and gives a uniform finish |
Cost Analysis and Budget-Friendly Strategies for Ceiling Leak Repairs

Ceiling leaks are stressful, but quick action can save you money and hassle. Make sure to document the damage within the first 48 hours by taking clear photos and simple measurements. This step helps us see what needs fixing and supports any insurance claim you file. For small repairs, you might spend between $200 and $500. If the drywall needs replacing, costs may run from $1,000 to $3,000. Careful recordkeeping now can help you avoid unexpected expenses later.
If you want to handle the repair yourself, start by comparing repair costs and renting the tools you need. Simple fixes like sealing, patching, and painting often cost less without cutting corners on safety. For larger jobs, consider hiring a professional who can use cost-saving techniques to reduce the risk of long-term damage. Keeping detailed documentation also makes filing an insurance claim much easier. For help with submitting claims, visit our insurance claims assistance page at https://mindtangle.net?p=369. Balancing DIY efforts with professional advice and good recordkeeping can protect your budget while getting your ceiling back in shape.
Choosing Professional vs. DIY for Ceiling Leak Repair and Restoration
When you notice a leak in your ceiling, first think about how big the job is. If the leak is caused by plumbing problems like a leak from an upstairs bathroom, a faulty water heater, or a broken pipe, call a certified plumber right away. If you see water coming in after a rain, the roof might be the source, so a roofing contractor is your best bet. Once the leak is fixed, a handyman or general contractor can replace the drywall and add the finishing touches.
Safety comes first. Make sure the area is secure so no one gets hurt or more damage occurs. If you notice the ceiling is sagging or the material feels soft, the structure might be weakened. Small repairs can sometimes be handled by a handy homeowner, but if there is heavy water damage or hidden moisture, it's best to call a professional. They have the right tools and expertise to stop further damage, prevent mold, and keep the area safe.
Plan your repair work based on how urgent and extensive the damage is. Acting quickly can help stop more water damage, but have a qualified expert assess the situation first. Scheduling work so that plumbers, roofers, and handymen coordinate their efforts can make the repair process smoother and more effective.
Preventive Measures to Avoid Future Ceiling Water Damage
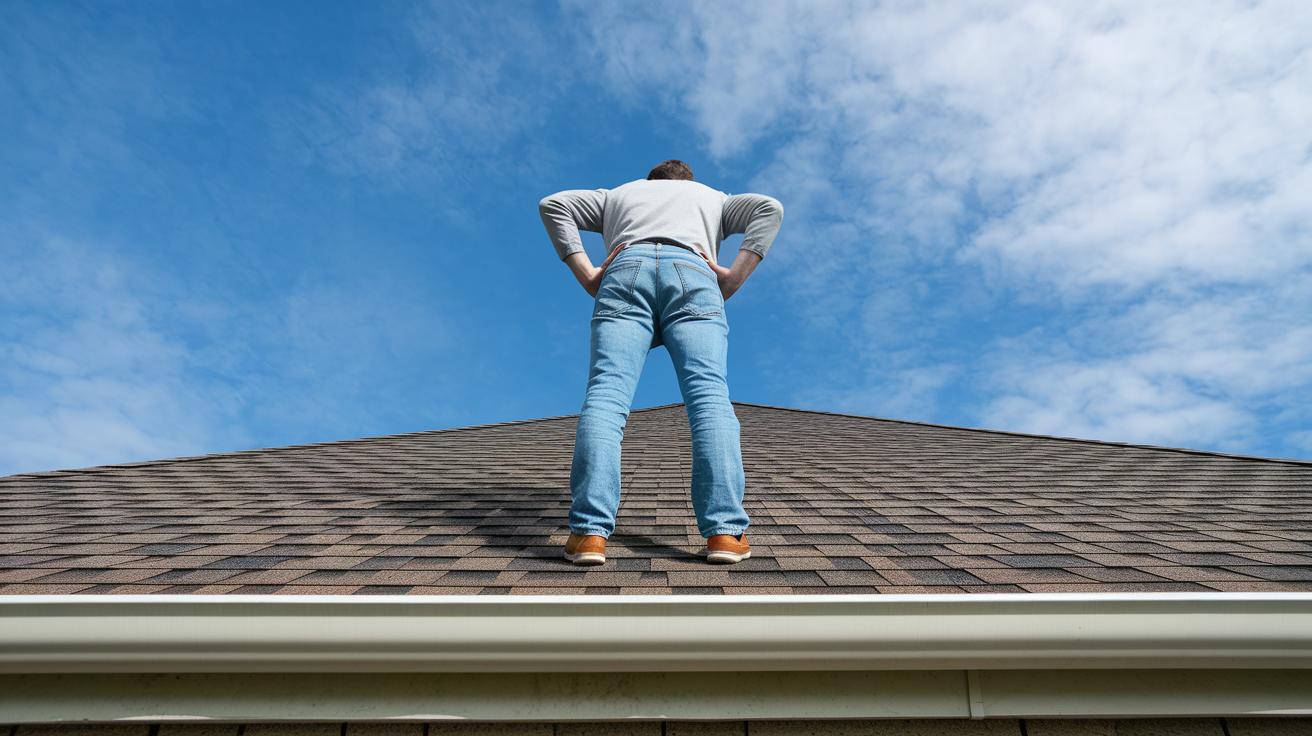
Regular roof checks and upkeep help prevent ceiling leaks. Test your roof each season to catch cracks or missing shingles early. Clean your gutters and downspouts so water can flow away properly. Look at the metal seals around roof joints and vents to spot any damage. These small steps stop little problems from growing into big leaks.
Adding water barriers gives your ceiling extra protection. Apply waterproof coatings or sealants on weak spots to keep moisture out. These barriers work well with proper drainage by limiting water spread if a leak does occur.
Stop mold before it starts after water issues. Use a dehumidifier during humid months and keep air moving with fans. Treat surfaces with mold inhibitors if needed and watch for early signs of mildew. A regular care routine helps keep your home dry and safe.
Case Study: Successful Ceiling Leak Repair and Restoration
In one home, a leak from an upstairs shower almost turned into a disaster. A certified plumber arrived within 24 hours and shut off the water right away. The crew then used fans and dehumidifiers to remove standing water and dry the area quickly. Once dry, they applied a moisture barrier to protect against mold. Damaged drywall was removed and replaced to ensure a safe and lasting fix.
- Find and stop the leak – The plumber traced the water to its source in the upstairs shower and turned off the valves to halt further damage.
- Dry and protect the area – Fans and dehumidifiers were set up to dry the space, and a moisture barrier was applied to help prevent mold growth.
- Repair the structure – New drywall was installed, smoothed with joint compound, sanded, and repainted to match the original ceiling.
After these steps, the technicians checked for any leftover moisture with follow-up readings. This final review made sure no damp spots were hidden. The repair not only brought back the ceiling’s look but also showed how quick action and proper moisture tracking can prevent further damage.
Final Words
In the action, this post detailed fast steps to stop leaks, water extraction, moisture control, and thorough inspections. It outlined a clear process with immediate actions, from locating the source to setting up dehumidifiers and air movers.
A focus on choosing between DIY fixes and professional help helps you keep repair costs low while guiding insurance claims. Following these clear tips, you can significantly reduce ceiling water damage from leak repair and soon enjoy a safe, stable, and restored home.
FAQ
What is the cost to repair water-damaged ceilings?
The repair cost largely depends on damage extent including water extraction, materials, and labor. Minor repairs typically range between $200 and $500, while full replacements can cost $1,000 to $3,000.
Why does water leak from a ceiling when it rains?
Water leaking during rain points to possible roof issues, failed flashing, or clogged gutters that allow rainwater to seep through and damage the ceiling.
Who should I call for ceiling water damage repair?
The best contact for ceiling water damage includes licensed plumbers for leaks or roofing contractors for rain-related issues, with general handymen handling minor restoration after leak repair.
How dangerous is water damage on a ceiling?
Water damage on a ceiling can be dangerous if it leads to mold growth or structural weakening. Quick response is needed to reduce hazards and prevent further damage.
Can a water-damaged ceiling be fixed?
A water-damaged ceiling can be fixed by stopping the leak, drying the area, and replacing damaged materials. The repair method depends on the severity of the damage.
What are the early signs of water damage on a ceiling?
Early signs include stains, bubbling or peeling paint, soft patches, and sagging drywall. These symptoms suggest the need for prompt assessment and drying interventions.
What insights are shared online, like on Reddit, about ceiling water damage repairs?
Online communities, such as Reddit, share personal experiences and cost estimates which can offer practical tips on materials, repair techniques, and effective drying methods for ceiling water damage.
Will my insurance cover ceiling water damage?
Insurance may cover water damage if it is sudden and accidental. Gradual damage from leaks might not be covered, so it is important to review your policy and properly document the damage.

